Few days ago, Google has announced the beta release of Flutter at Mobile World Congress 2018. A mobile UI framework to build native apps for both iOS and Android. It uses Dart to write application. The code is compiled using the standard Android and iOS toolchains for the specifc mobile platform, hence, better performance and startup times.
Flutter has a lot of benefits such as:
- Open Source.
- Hot reload for quicker development cycle.
- Native ARM code runtime.
- Rich widget set & growing community of plugins backed by Google.
- Excellent editor integretation: Android Studio & Visual Studio Code.
- Single codebase for iOS and Android, full native performance (does not use JavaScript as a bridge or WebViews) .
- React Native competitor.
- Dart feels more Java, easy for Java developers to jump on it.
- It use Widgets, so for people coming from web developement background everything should seem very familiar.
- It might end the Google vs Oracle Java wars.
So it was a great opportunity to get my hands dirty and create a Flutter application based on Serverless Golang API I built in my previous post “Serverless Golang API with AWS Lambda”
The Flutter application will call API Gateway which will invoke a Lambda Function that will use TMDB API to get a list of movies airing this week in theatres in real-time. The application will consume the JSON response and display results in a ListView.
Note: All code can be found on my GitHub.
To get started, follow my previous tutorial on how to create a Serverless API, once deployed, copy to clipboard the API Gateway Invoke URL.
Next, get the Flutter SDK by cloning the following GitHub repository:
1 | git clone -b beta https://github.com/flutter/flutter.git |
Note: Make sure to add flutter/bin folder to your PATH environment variable.
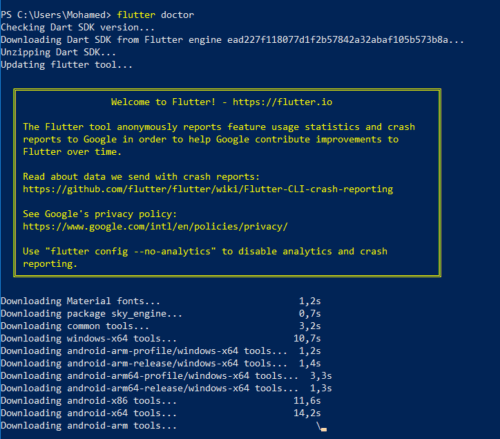
Next, install the missing dependencies and SDK files:
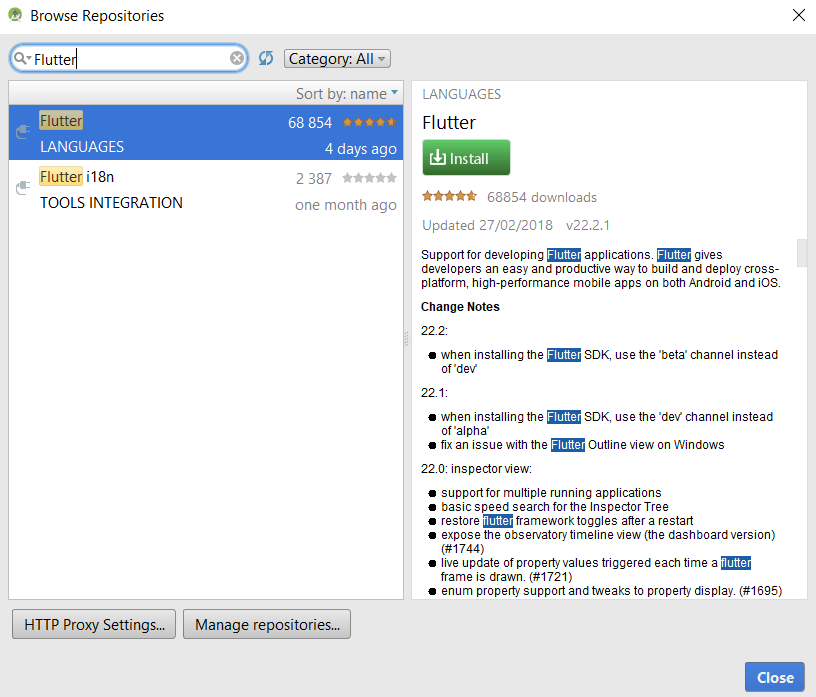
Start Android Studio, and install Flutter plugin from File>Settings>Plugins :
Create a new Flutter project:
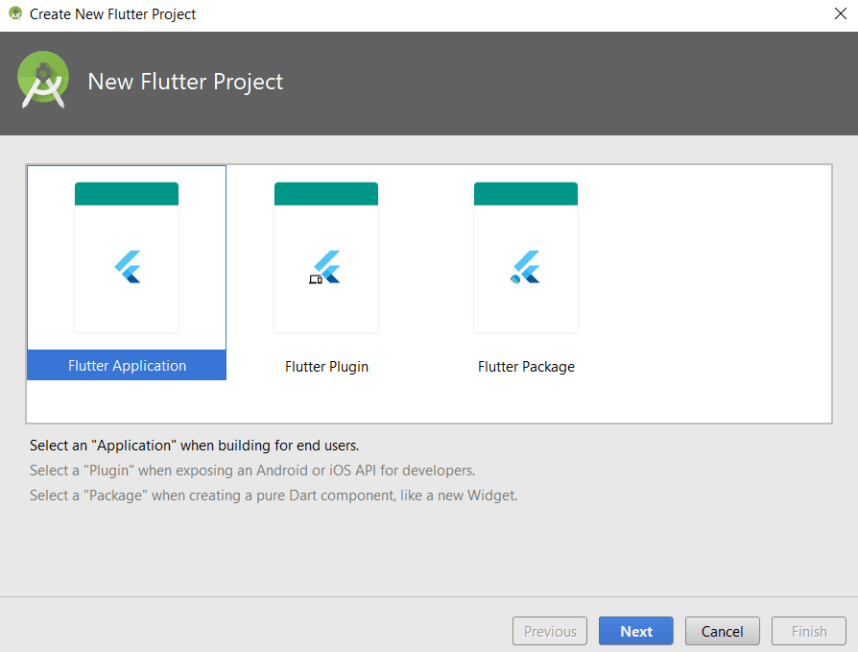
Note: Flutter comes with a CLI that you can use to create a new project “flutter create PROJECT_NAME”
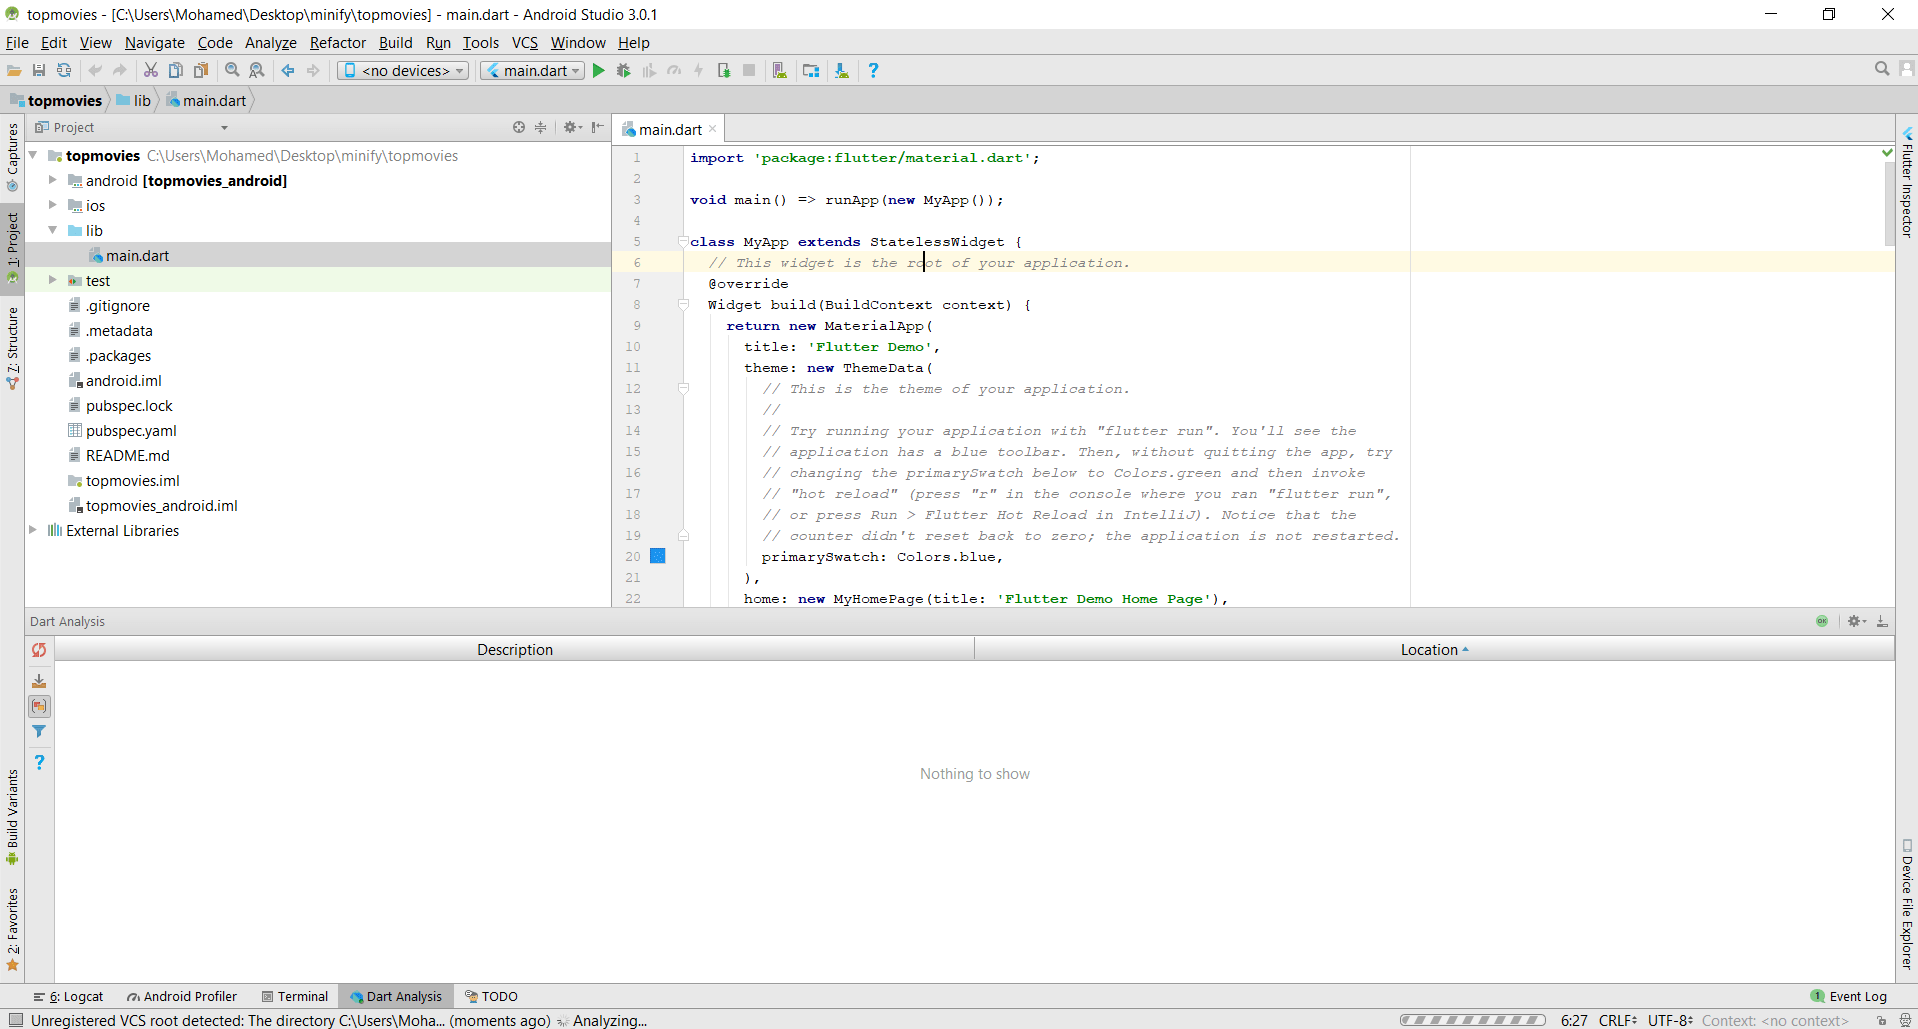
Android Studio will generate the files for a basic Flutter sample app, we will work in lib/main.dart file:
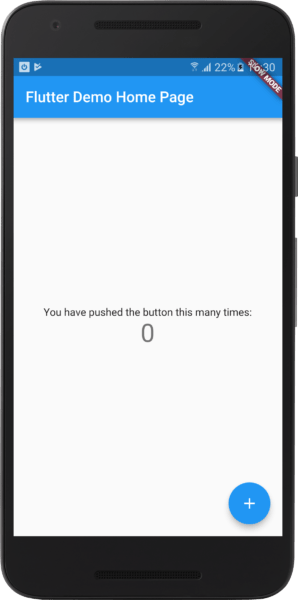
Run the app. You should see the following screen:
Create a simple POJO class Movie with a set of attributes and getters:
1 | class Movie { |
Create a widget, TopMovies, which creates it’s State, TopMoviesState. The state class will maintain a list of movies.
Add the stateful TopMovies widget to main.dart:
1 | class TopMovies extends StatefulWidget { |
Add the TopMoviesState class. Most of the app’s logic will resides in this class.
1 | class TopMoviesState extends State<TopMovies> { |
Let’s initialize our _movies variable with a list of movies by invoking API Gateway, we will iterate through the JSON response, and add the movies using the _addMovie function:
1 | @override |
The _addMovie() function will simply add the movie passed as an argument to list of _movies:
1 | void _addMovie(dynamic movie){ |
Now we just need to display movies in a scrolling ListView. Flutter comes with a suit of powerful basic widgets. In the code below I used the Text, Row, Image widgets. In addition to Padding & Align components to display properly a Movie item:
1 | Widget _fetchMovies() { |
Finally, update the build method for MyApp to call the TopMovies widget instead:
1 | class MyApp extends StatelessWidget { |
Restart the app. You should see a list of movies airing today in cinema !
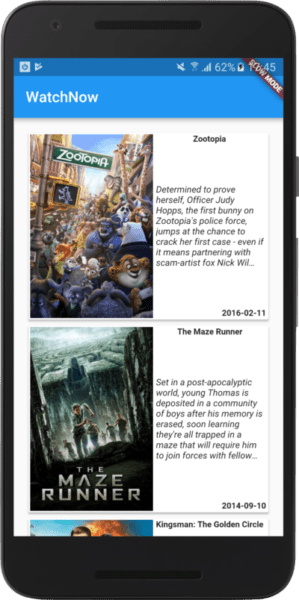
That’s it ! we have successfully created a Serverless application in just 143 lines of code and it works like a charm on both Android and iOS.
Flutter is still in womb so of course it has some cons:
- Steep learning curve compared to React Native which uses JavaScript.
- Unpopular comparing to Kotlin or Java.
- Does not support 32-bit iOS devices.
- Due to autogenerated code, the build artifact is huge (APK for Android is almost 25 Mb, While I built the same app in Java for 3 Mb).
But for a beta release it look very stable and well designed. I can’t wait to see what you can build with it !
Drop your comments, feedback, or suggestions below — or connect with me directly on Twitter @mlabouardy.
